Advertisement
Canon i-SENSYS MF232w Driver for Windows 11-10-8.1-8-7 (64bit-32bit)
MF237w/MF232w MFDrivers (UFR II / FAX / ScanGear)-UFR II/UFRII LT V4 Printer Driver:
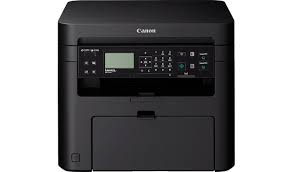
The Canon i-SENSYS MF232w is a wireless 3-in-1 laser printer for home and offices. It has a printing speed of 23 pages per minute. Moreover, you can easily print, photocopy or scan from your desktop computer, smartphone or tablet with this multifunctional mono laser printer.
Canon iSENSYS MF232w MF Driver for Windows
MF237w/MF232w MFDrivers (UFR II / FAX / ScanGear)
Version: V5.20
File name: MF230SeriesMFDriverV520WPEN.exe
Language: English
Release Date: 26 November, 2021
Operating systems: Windows 11, Windows 10 (64bit), Windows 8.1 (64bit), Windows 8 (64bit), Windows 7 (64bit), Vista (32bit), Vista (64bit)
Size: 180.99MB
Canon iSENSYS MF232w UFR Driver for Windows
UFR II/UFRII LT V4 Printer Driver: This is a V4 printer driver which is optimised for Windows Store applications.
Version: V7.1.2
File name: UFRII_V4_PrinterDriver_V712_00.exe
Release Date: 26 Nov, 2021
Size: 114.0MB
Compatible systems: Windows 11, Windows 10 (64bit), Windows 8.1 (64bit)
Description: Precaution When Using a USB Connection
Disconnect the USB cable that connects the device and computer before installing the driver.
Connect the USB cable after installing the driver.
Driver and application software files have been compressed.
The following instructions show you how to download the compressed files and decompress them.
- To download files, click the file link, select [Save], and specify the directory where you want to save the file. The download will start automatically.
- Downloaded files are saved in the specified folder in a self-extracting format (.exe format).
- Double-click the files to decompress them. A new folder will be created in the same folder. The new folder will have the same name as the compressed file.
- Double-click the decompressed Setup.exe file to start installation.
Advertisement